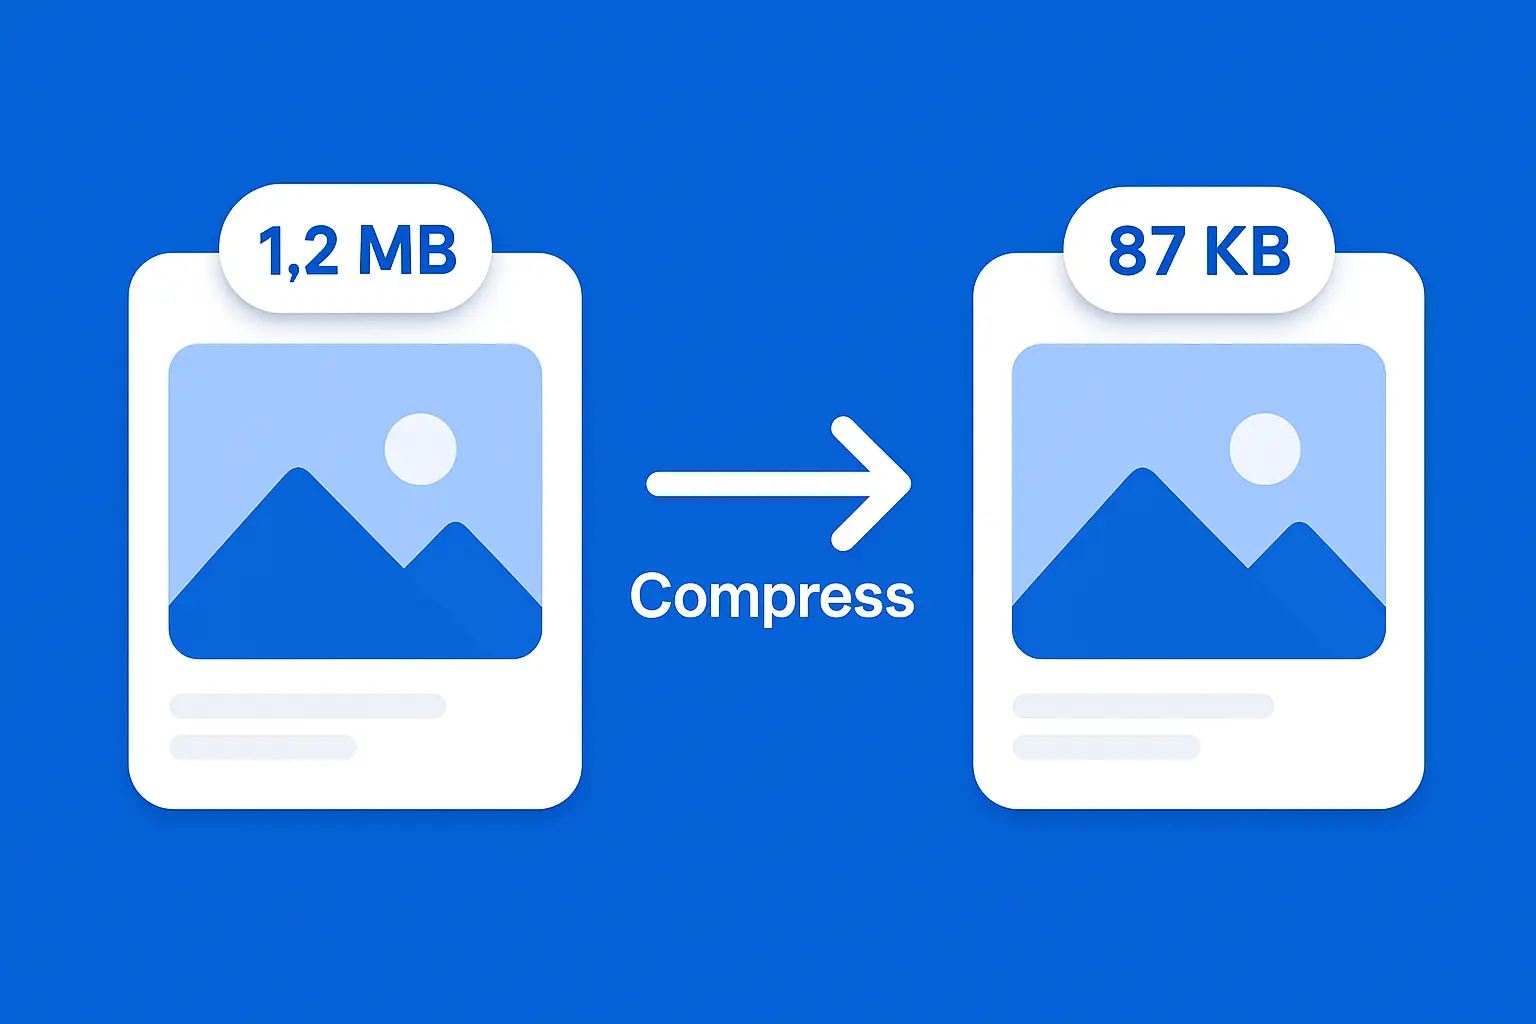
You're trying to upload a photo — a job application, a passport form, a Shopify product listing — and the upload is rejecting it. Required: under 100KB. Your JPEG: 1.2MB. You compress it once, it drops to 400KB. You compress it again, it hits 200KB. Now the image looks like it was taken through a window screen. Sound familiar?
There's a better way. Getting a JPEG under 100KB without visible quality loss isn't about blasting the quality slider to zero. It's about attacking the right parts of the file in the right order — starting with the parts that cost you file size without adding anything you can see.
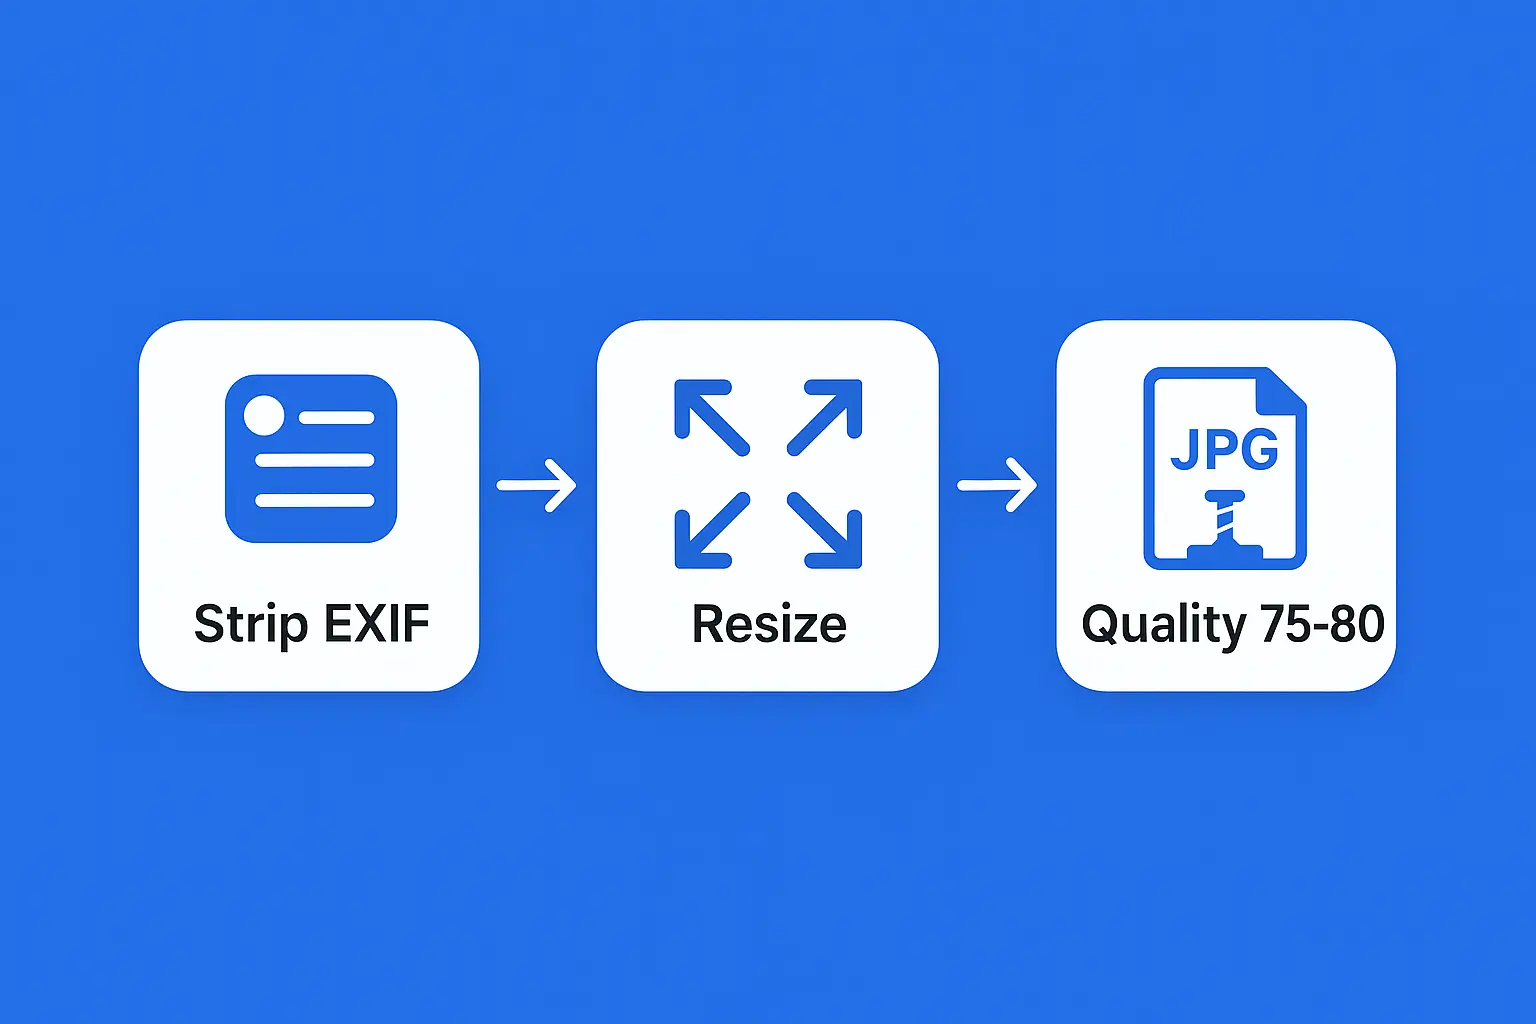
TL;DR: Strip EXIF metadata first (saves 20–200KB at zero quality cost). Then resize your pixel dimensions to match the actual use case. Finally, compress at quality 75–80. In most cases, that three-step sequence reliably hits under 100KB with no visible degradation.
Key Takeaways:
- ✓ EXIF metadata can add 20–200KB to a JPEG — stripping it is completely lossless
- ✓ A 4000×3000px image at quality 70 will still exceed 100KB — resize dimensions first
- ✓ Quality 75–80 is the sweet spot: 40–65% file reduction with barely visible artifacts
- ✓ Re-compressing an already-compressed JPEG degrades quality fast — do it once, do it right
- ✓ Most files hit under 100KB after three steps: strip EXIF → resize → compress at 75–80
Why 100KB Is Harder to Hit Than You Think
JPEG file size is driven by three things: pixel dimensions, quality setting, and embedded metadata. Most people jump straight to the quality slider — which helps, but only partially. A 4000×3000px photo has roughly 12 million pixels. Even at quality 60, that's a lot of image data to encode. You can compress it to 200KB without much trouble. But 100KB? You'd need to push quality below 50, which is where you start getting obvious blocky artifacts in smooth gradients and backgrounds.
What most guides skip: EXIF metadata is dead weight. Camera brand, GPS coordinates, lens data, color profiles, thumbnail previews embedded inside the file — none of it affects how your image looks. But it can account for 20–200KB of your file. Strip it first, and your compression job just got significantly easier.
| Source image | Original size | After EXIF strip | After resize to 1200px wide | After quality 78 |
|---|---|---|---|---|
| DSLR photo (full res) | 5–8 MB | 4.8–7.8 MB | 600–900 KB | 70–110 KB |
| Smartphone photo | 2–4 MB | 1.8–3.5 MB | 300–600 KB | 50–90 KB |
| Web screenshot | 500 KB–1 MB | 480–950 KB | 150–350 KB | 40–80 KB |
The table above illustrates why the order matters. EXIF stripping alone won't get a DSLR photo to 100KB — but combine it with a dimension resize and a moderate quality setting, and you're there. Skip any one step and you're either crushing quality or still sitting above the limit.
Step 1 — Strip EXIF Data First (It's Lossless)
EXIF stands for Exchangeable Image File Format. It's the metadata block your camera or phone bakes into every photo: shutter speed, ISO, GPS coordinates, camera model, white balance, orientation, and often a small embedded JPEG thumbnail of the image itself. None of it affects the visual pixel data. All of it takes up space.
A photo shot on a modern iPhone can carry 60–150KB of EXIF data alone. A DSLR RAW-to-JPEG export with an embedded ICC color profile might add 200KB on top of the image data. Stripping it removes zero visual information — the image looks identical before and after. This makes EXIF removal the only truly lossless step in the entire compression process, and it's the one most people skip entirely.
How to strip EXIF data:
- Online (easiest): strip EXIF data free — upload your JPEG, download the clean version in seconds. No quality settings to touch.
- Mac (Preview): Open the image → File → Export → uncheck "Embed color profile" → save. This removes most metadata. For a full strip, run exiftool -all= photo.jpg in Terminal.
- Windows: Right-click the file → Properties → Details tab → "Remove Properties and Personal Information" → "Remove all possible properties from this file."
- ExifTool (any platform): exiftool -all= photo.jpg — strips everything, saves the original as photo.jpg_original automatically.
Do this before you touch the quality slider. You might find you're already close to or under 100KB without any lossy compression at all — especially if your image came from a professional camera or an unedited phone shot.
Step 2 — Check Your Dimensions Before Compressing
Pixel dimensions are the biggest single driver of JPEG file size. A 4000×3000px image has 12 million pixels. A 1200×900px version of the same photo has 1.08 million pixels — about 11× less image data for the encoder to work with. That difference translates directly into file size.
If you need a file under 100KB, you almost certainly need it to fit a context where 100KB is a reasonable size — a form upload, a passport portal, an email. That context has a display size. A government form won't show your photo at 4000px wide. Resizing to match the actual display size loses nothing the viewer would ever notice — screens and print outputs can't show more pixels than they're designed to render.
| Use case | Recommended max dimensions | Typical file size target |
|---|---|---|
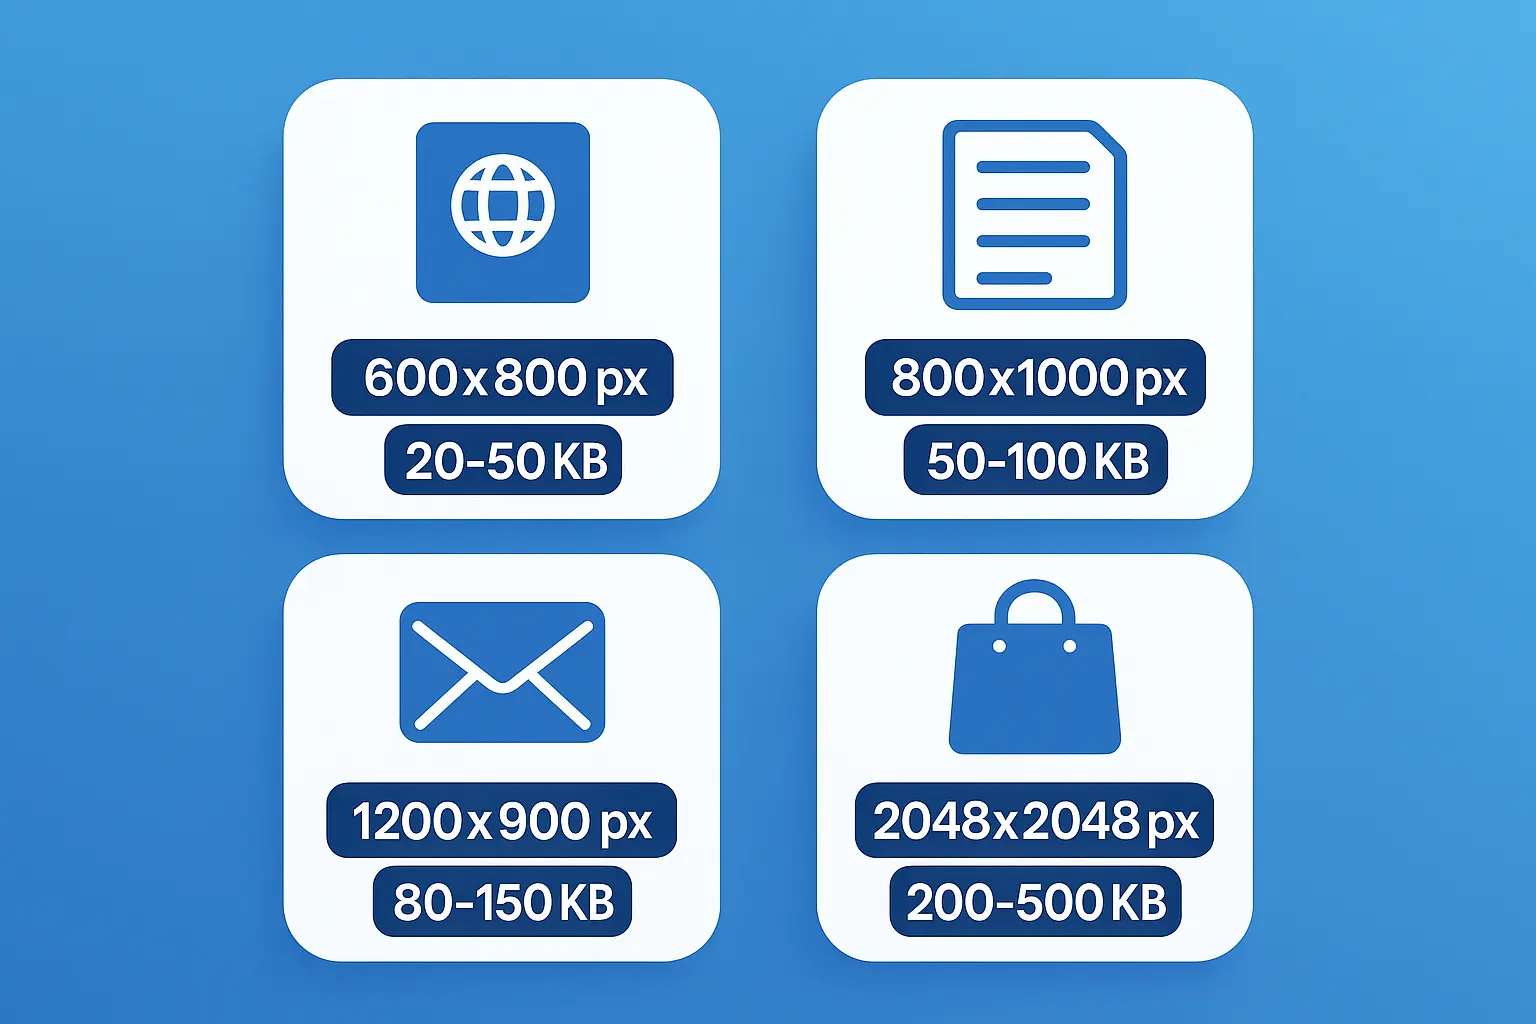
| Passport / ID photo | 600×800 px | 20–50 KB |
| Government / form upload | 800×1000 px | 50–100 KB |
| Email attachment | 1200×900 px | 80–150 KB |
| LinkedIn banner | 1584×396 px | 100–200 KB |
| Shopify product image | 2048×2048 px | 200–500 KB |
For passport and government form uploads, resize to 800×1000px or smaller before compressing. At that size, quality 78 will almost always land under 100KB. You can resize images online for free before running compression — it takes seconds and makes the next step much easier.
Step 3 — Use the Right Quality Setting
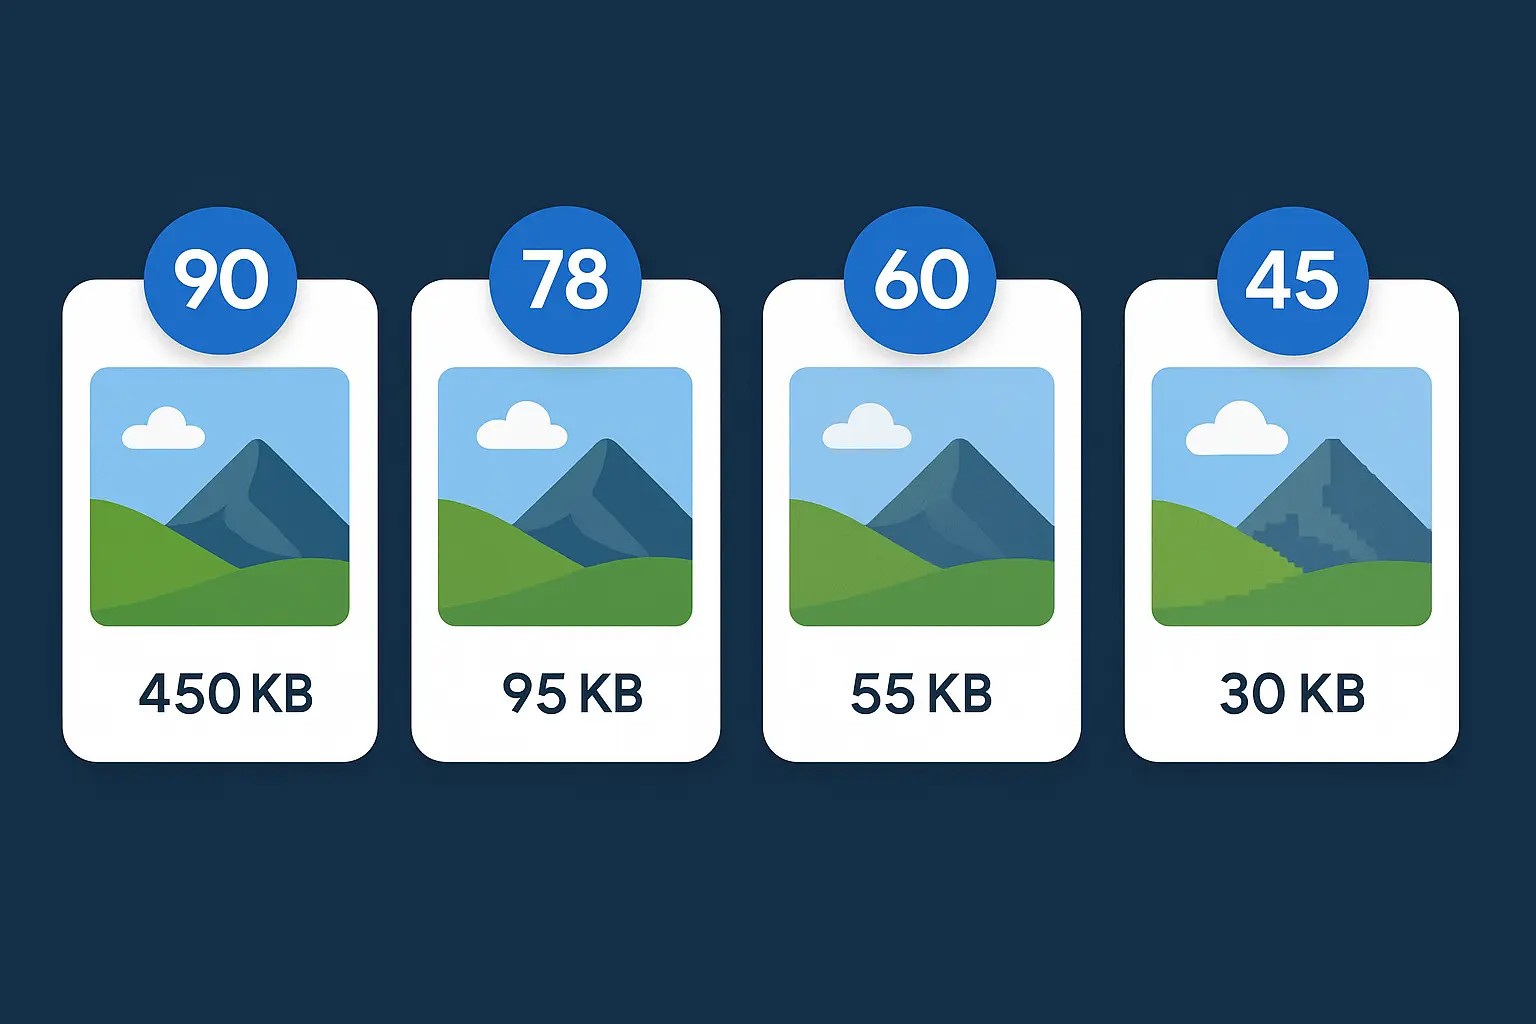
JPEG quality is a 1–100 scale that controls how aggressively the encoder discards high-frequency image data. It's not a linear scale. The difference between quality 80 and 70 is nearly imperceptible. The difference between quality 50 and 40 is obvious. Most people push quality too low because they don't know where the perceptual cliff actually is.
Quality 75–80 is the sweet spot. It produces 40–65% file reduction compared to a quality 95 save, and the artifacts at normal viewing sizes — on a phone, on a web page, in a form preview — are below the threshold most viewers can detect. Below quality 60, you start seeing blocky artifacts in smooth gradients: skies, skin tones, solid-color backgrounds. Below quality 50, most viewers notice something's wrong even without looking closely.
| Quality setting | Typical file reduction | Visible artifacts | Best for |
|---|---|---|---|
| 90–100 | 20–40% | None | Portfolio, print archiving |
| 75–85 | 40–65% | Barely visible at 100% zoom | Web, social media, email, forms |
| 60–74 | 65–80% | Minor, mostly in smooth gradients | Thumbnails, preview images |
| Below 60 | 80%+ | Obvious blocking in most photos | Tiny previews only |
For most 100KB targets, start at quality 78. Check the output size. If it's still over, drop to 72. Rarely do you need to go below 70 on a properly resized image. You can try our free image compressor — it shows the estimated output size before you download, so you can dial in the right setting without guessing.
How Allimgtools Gets You to 100KB
Allimgtools' compressor is designed for precise, target-based compression — which is exactly what hitting a 100KB ceiling requires. You're not just making the file "smaller"; you're hitting a specific number, ideally without touching quality more than necessary. Here's how to use it:
- Upload your JPEG. Drag and drop or click to browse. Files up to 20MB are supported, so even unedited DSLR shots upload without issue.
- Set your quality or enter a target size. You can drag the quality slider or type in a KB value directly. The output file size preview updates in real time — you see the projected size before you download anything, so there's no trial-and-error cycle.
- Download the compressed file. EXIF metadata is stripped automatically during compression. That means you're getting both the quality reduction and the lossless savings from metadata removal in a single step — often an extra 30–80KB saved on top of what the quality adjustment delivers.
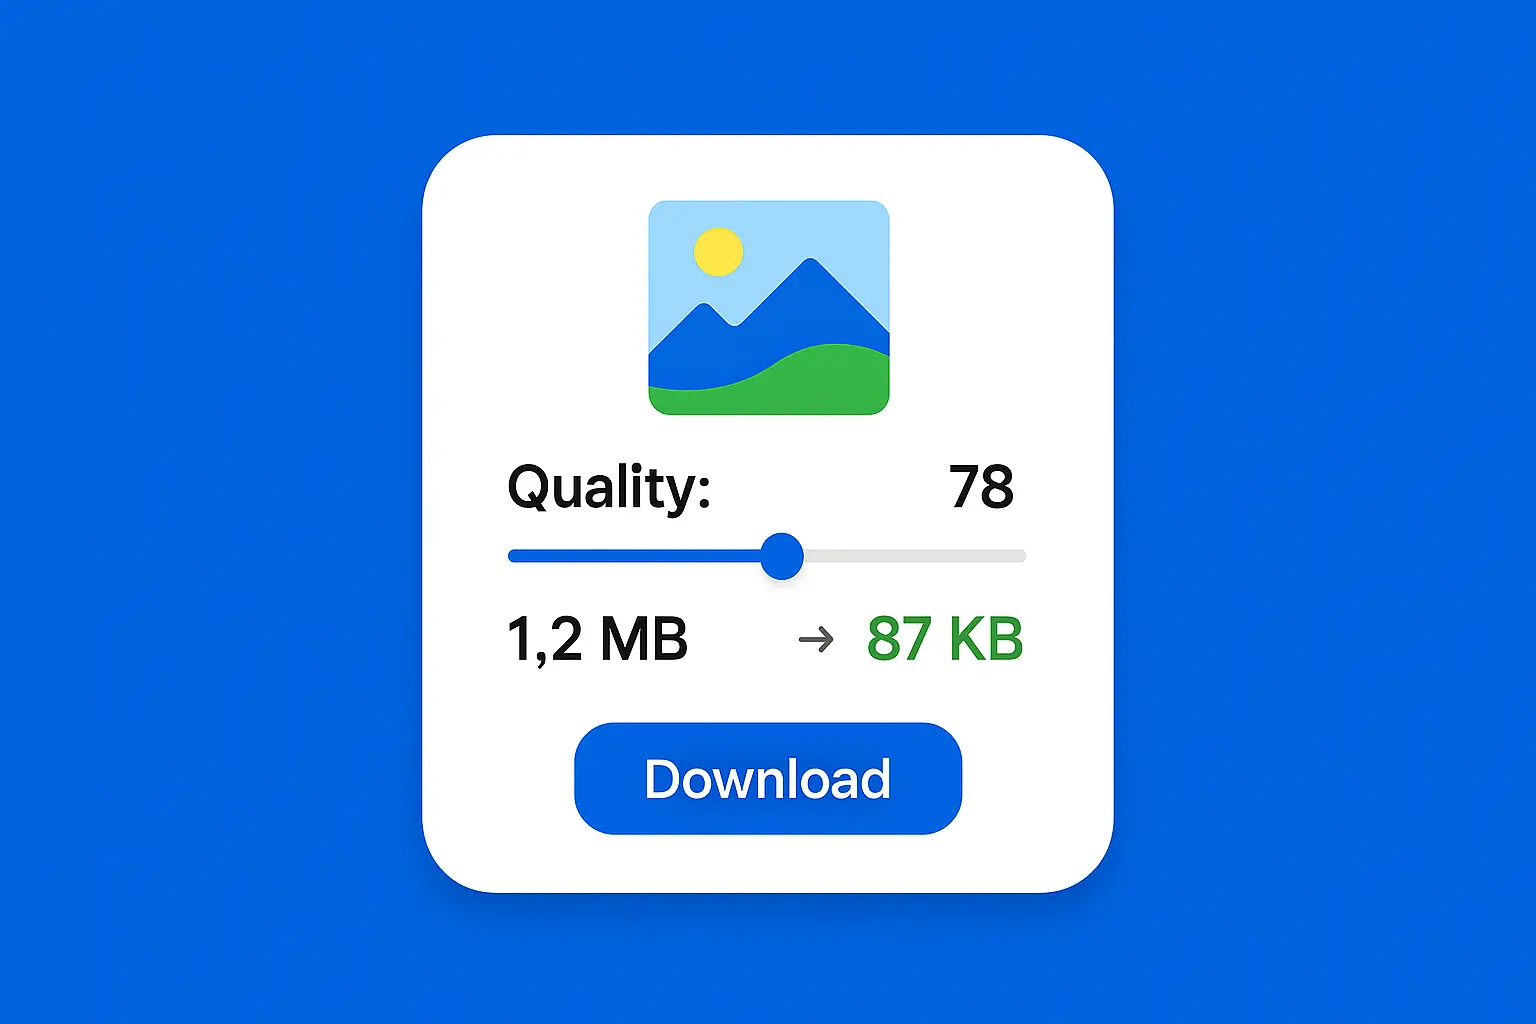
To put numbers on it: a 1.2MB smartphone JPEG (3024×4032px) hit 87KB at quality 78 with EXIF stripped, with no visible quality difference at normal viewing size. The same file at quality 60 without any resizing came in at 112KB and showed light banding in the background. The cleaner path: resize to 1200×1600px first, then compress at quality 78. You hit under 100KB and keep the image looking sharp.
Batch compression is also supported — if you're preparing a set of product photos for a store, a batch of documents for a government portal, or multiple images for a job application, you can process them all at once without repeating the steps manually. Try it free — no account required.
What If It's Still Over 100KB?
If you've compressed to quality 75 and you're still above 100KB, the image is almost certainly still too large in pixel dimensions. Work through this sequence:
- Check dimensions first. Is the image wider than 1500px? For a 100KB target, resize to 1200px wide maximum and retry.
- Confirm EXIF is gone. Some compression tools skip EXIF removal. Check with an EXIF viewer (most are free online) — if metadata is still there, strip it and recompress.
- Try quality 72. With dimensions under 1200px and EXIF stripped, quality 72 reliably lands most photos under 100KB.
- If still over: go to 800px wide. Passport and government form photos don't need to be web-display quality in terms of dimensions. 800px wide at quality 78 hits 30–60KB for the vast majority of portrait-style photos.
One thing to avoid throughout all of this: compressing the same JPEG multiple times. Each recompression re-encodes already-lossy image data, multiplying artifacts with each pass. Always start from your original file — or the highest-quality version you have available — and compress once to your target.
Common Mistakes That Kill Your Quality
- Compressing multiple times. Each recompression adds artifacts. Start from the original every time.
- Jumping to quality 50 to hit 100KB. With a properly resized image and EXIF stripped, quality 75 usually gets you there. Quality 50 on a large image is the wrong tool for the wrong problem.
- Skipping EXIF stripping. It's lossless savings. A photo from a recent iPhone or DSLR might carry 100KB+ of metadata. Strip it first.
- Resizing with wrong aspect ratios. Squashing or stretching changes how subjects look. Always resize proportionally — reduce the longer dimension and let the shorter one follow.
- Using PNG instead of JPEG for photographs. PNG is lossless and great for logos, screenshots, and diagrams with flat areas. For photographs, it's typically 3–5× larger than an equivalent-quality JPEG. If you're trying to compress a PNG photo to under 100KB, convert it to JPEG first, then apply compression.
FAQ
Can I compress a JPEG to 100KB without any quality loss?
Not completely — JPEG is a lossy format, so some data is discarded every time you compress. But at quality 75–80, the difference is below what most people can see at normal viewing sizes. The EXIF stripping step is genuinely lossless. If your original is large (over 2MB), combining EXIF removal with a modest quality reduction often gets you to 100KB with no perceptible quality change.
How do I compress a JPEG to 100KB on iPhone or Android?
On mobile, the easiest path is an online tool in your browser — upload, set quality, download. On iPhone, the Shortcuts app has an "Optimize Image" action that can reduce JPEG quality directly. On Android, apps like Photo Compress & Resize (free) offer direct file size targeting. For the most control, use a desktop browser if you can.
Why is my JPEG still over 100KB after compressing?
Almost always a pixel dimension issue. A 3000px-wide image at quality 70 will still be 200–300KB. Resize to under 1200px wide and recompress. Also check whether EXIF was actually stripped — some compressors skip it, leaving 50–200KB of metadata behind.
Does resizing reduce quality?
Downsizing causes minimal quality loss — you're removing pixels that can't be displayed at the output size anyway. The viewer sees the same image. Upscaling (making it larger) does hurt quality, because the encoder has to interpolate data that doesn't exist. For hitting a 100KB target, you're always downsizing, which is safe.
What's the best free tool to compress JPEG to 100KB online?
Allimgtools, Squoosh (by Google), and Compress JPEG all handle this well. The most important feature is a live file size preview — you want to see the output size before downloading, so you're not guessing and cycling through multiple downloads to find the right setting.
What JPEG quality setting should I use to hit 100KB?
It depends on pixel dimensions. At 1200×900px, quality 78 typically lands between 60–110KB. At 800×600px, quality 78 usually hits 25–55KB. Those are good starting points — adjust up or down based on the live preview in your compressor.
Wrapping Up
Most compression headaches come from skipping the first two steps — EXIF stripping and dimension resizing — and going straight for the quality slider. Attack the file in order: strip the metadata, resize to match the actual use case, then compress at quality 75–80. That sequence hits under 100KB reliably for the vast majority of photos without a visible quality hit.
If you're working through a batch — product photos, scanned documents, form submissions — the same rules apply at scale. Start from the original files, resize to the right dimensions for the platform, and compress once. One pass, clean output.
Ready to try it yourself?